Routing On Map
In this guide you will learn how to render an interactive map, compute and render a route on the map, and fly to the route.
Setup
First, get an API key token, see the Getting Started guide.
Download the Maps & Navigation SDK for Android archive fileDownload the RoutingOnMap project archive file or clone the project with Git
See the Configure Android Example guide.
Run the example
In Android Studio, from the File menu, select Sync Project with Gradle Files
An android device should be connected via USB cable.
Press SHIFT+F10 to compile, install and run the example on the
android device.
|
|
|
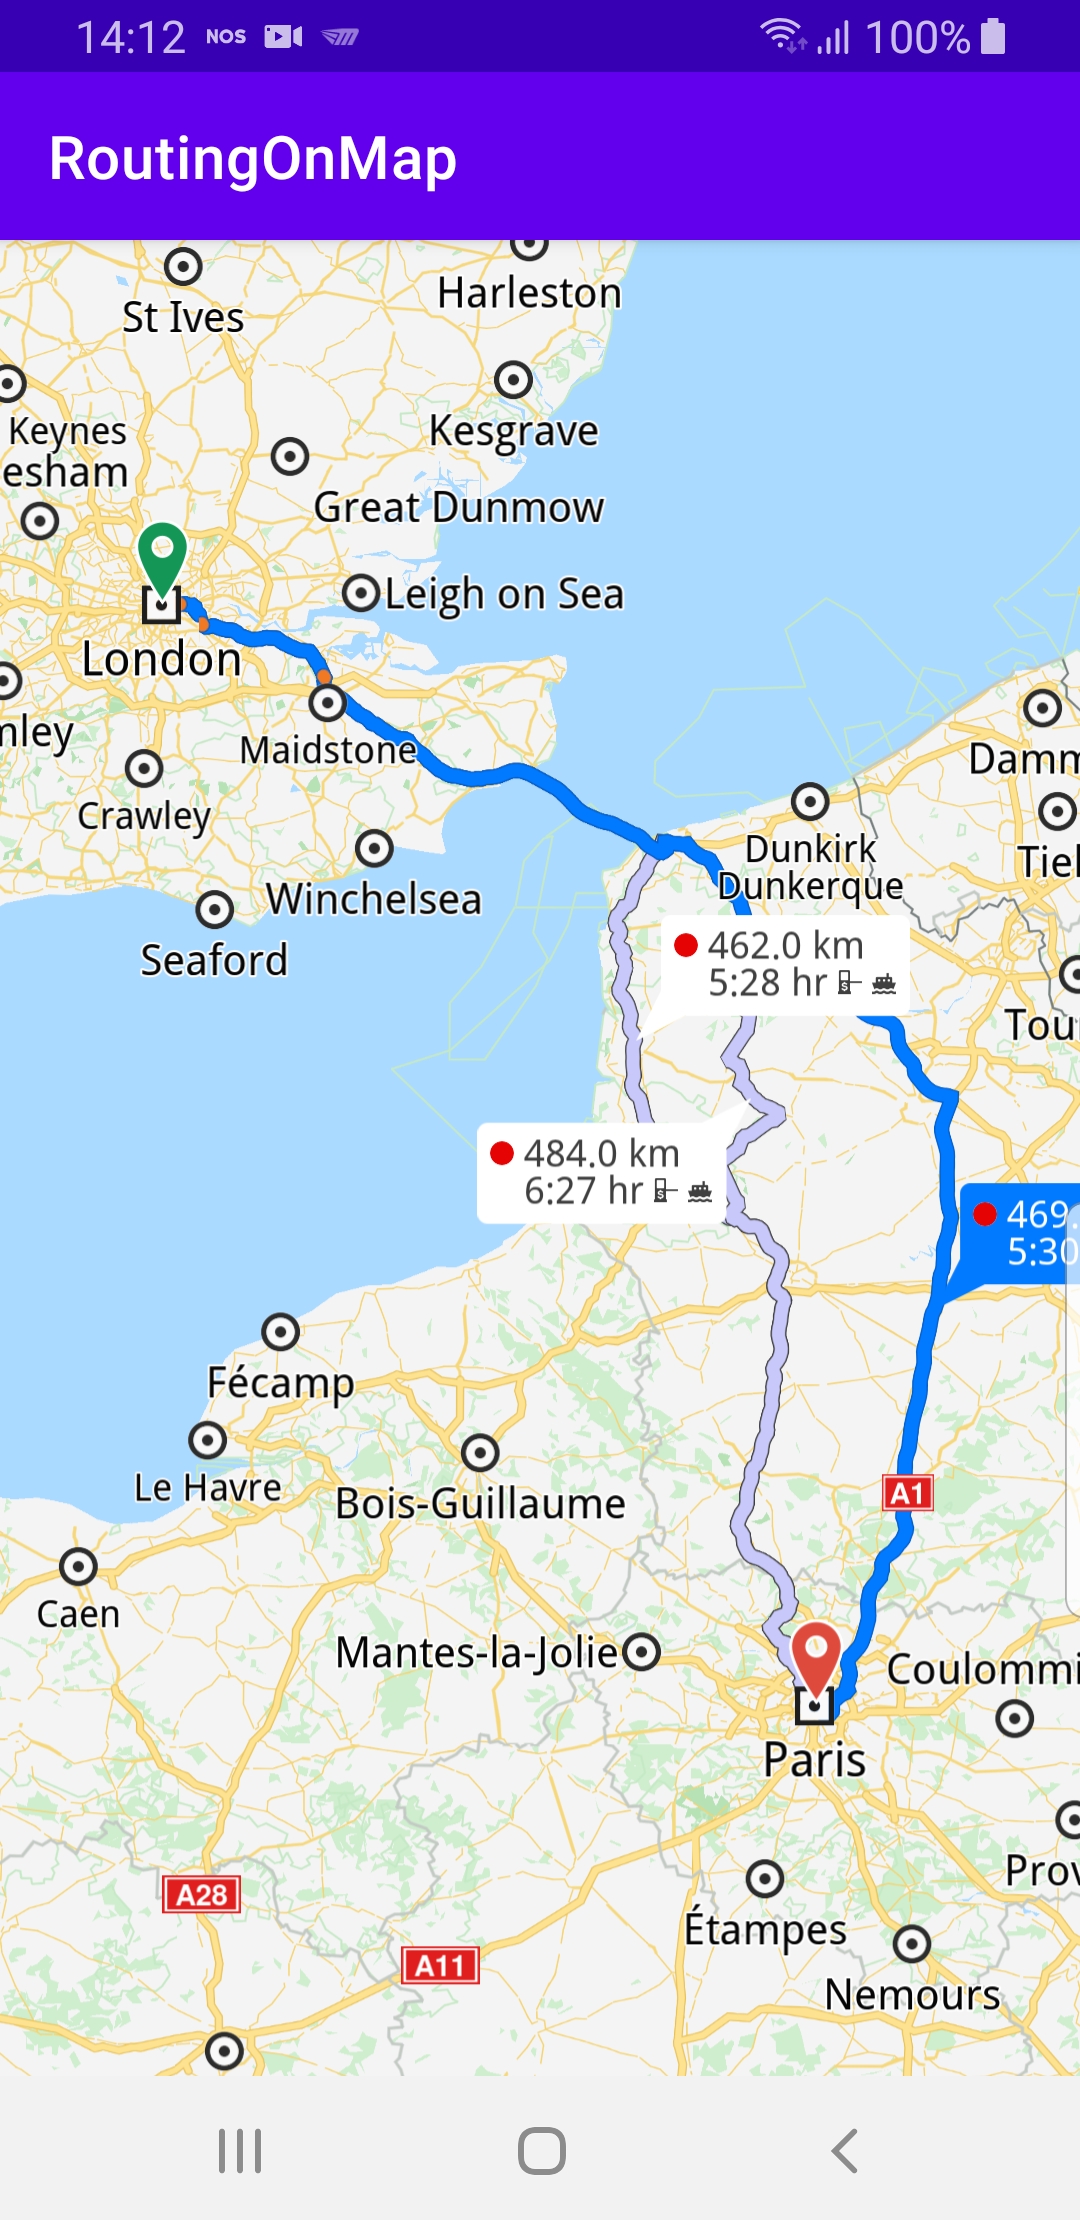
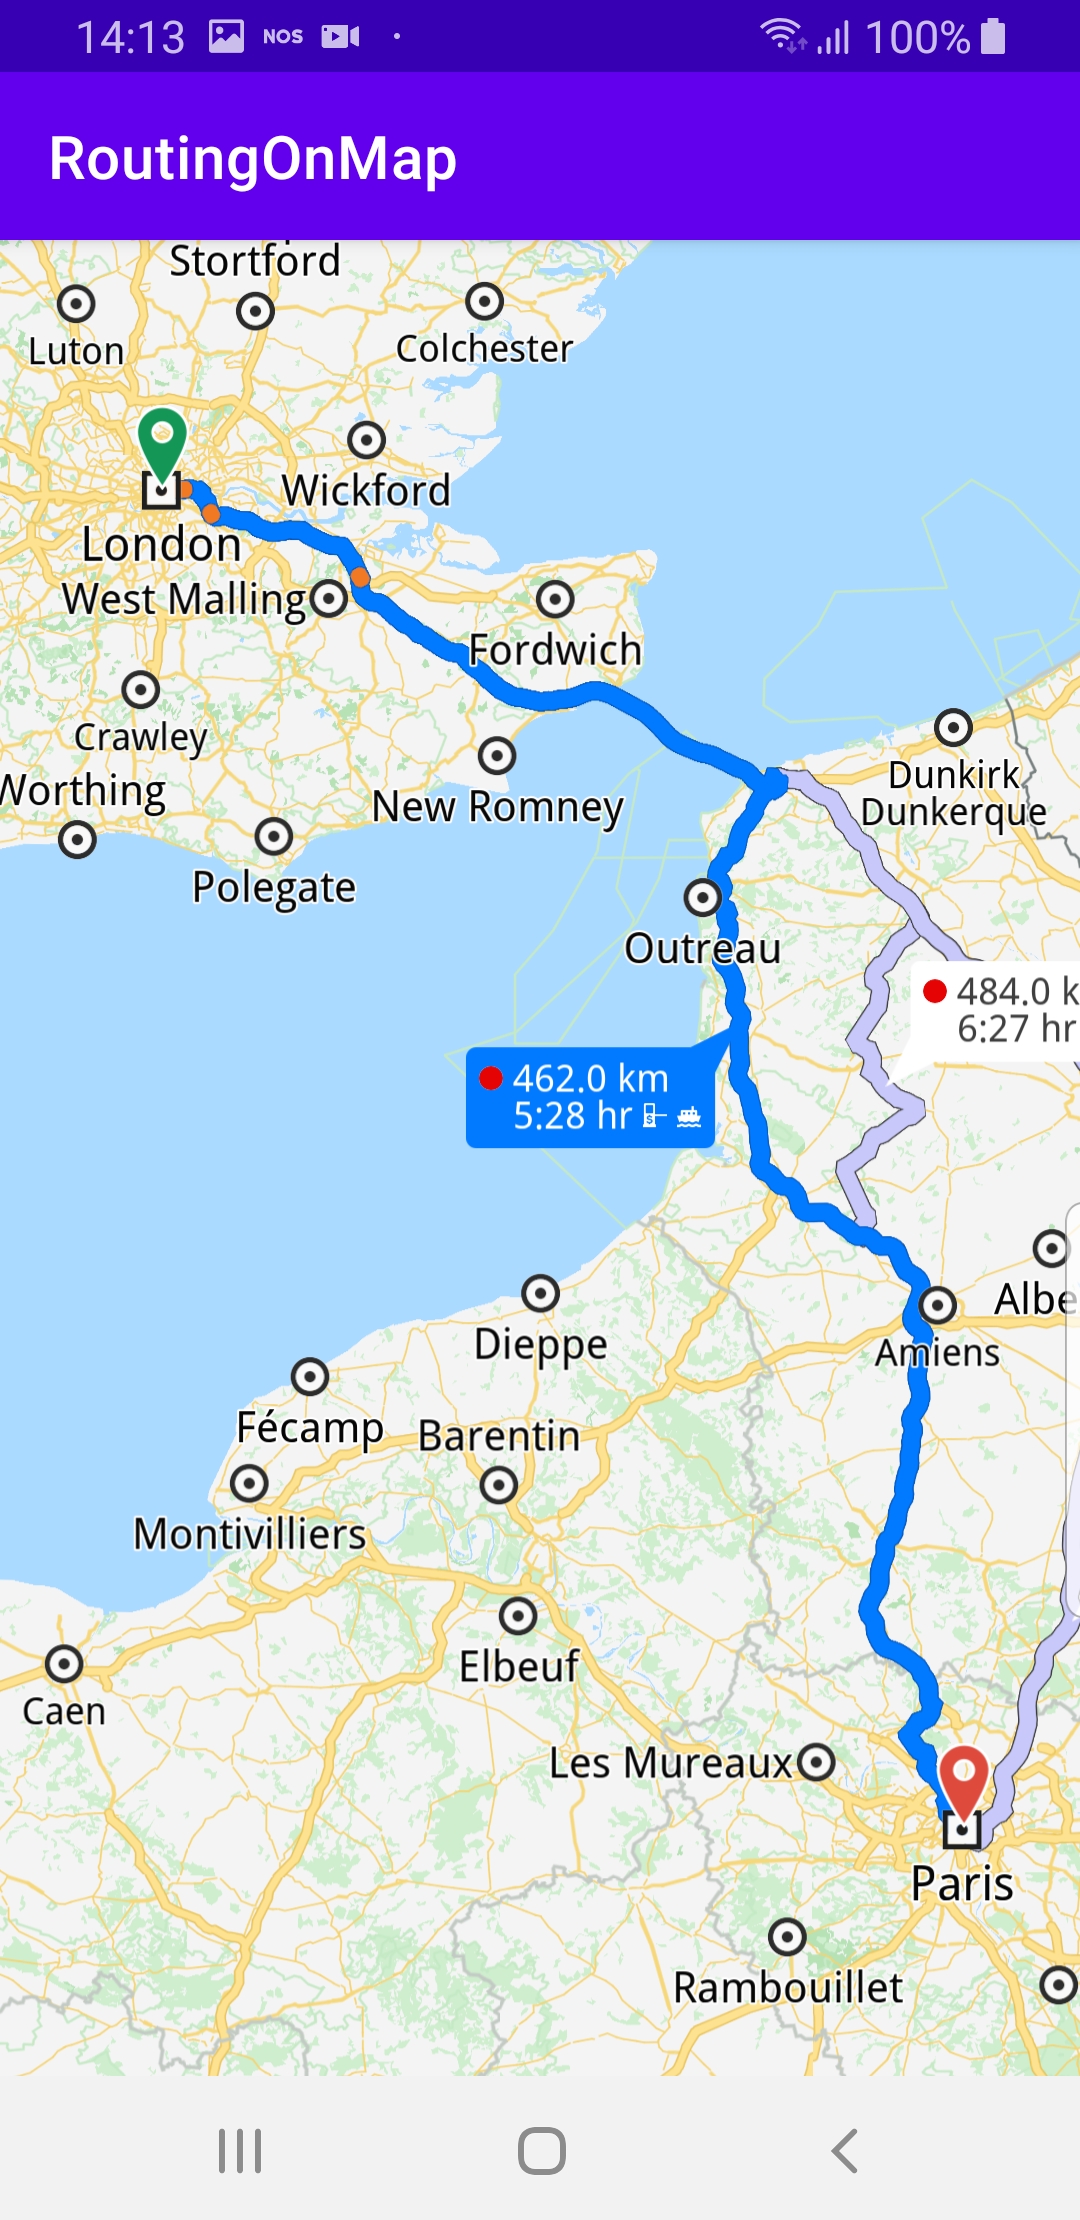
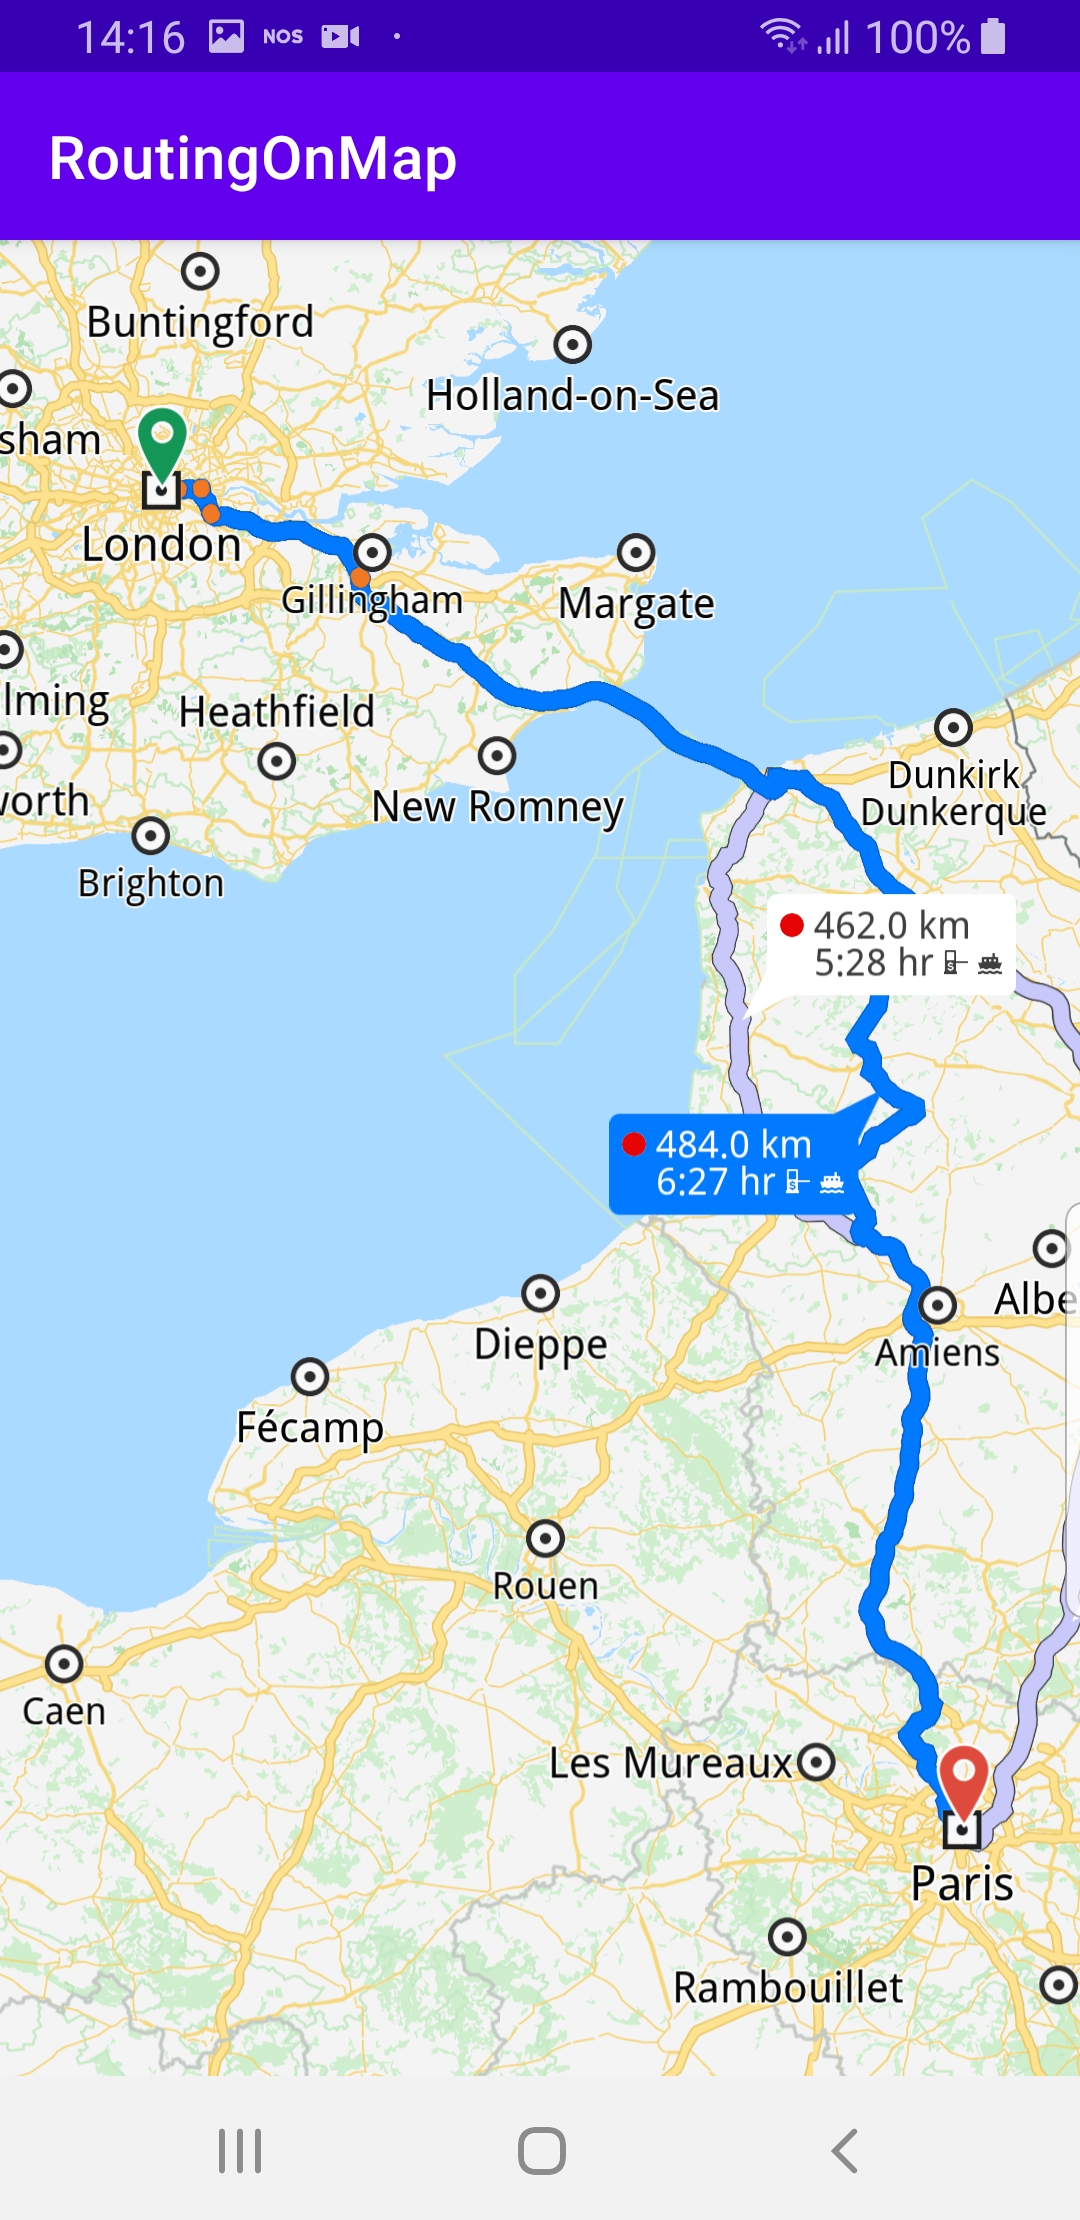
This example computes and draws a route on the map
and flies to it.
Displays an interactive map which is fully 3D,
supporting pan, pinch-zoom, rotate and tilt.
How it works
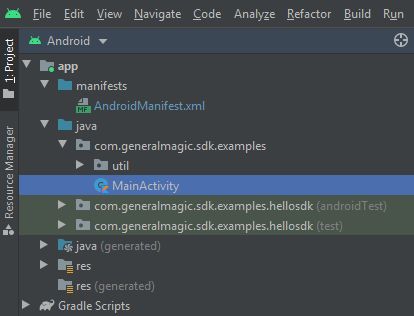
You can open the MainActivity.kt file to see how the route is computed and drawn on the map.
1private fun calculateRoute() {
2  val waypoints = arrayListOf(
3    Landmark("London", Coordinates(51.5073204, -0.1276475)),
4    Landmark("Paris", Coordinates(48.8566932, 2.3514616))
5  )
6  routingService.calculateRoute(waypoints)
7}
In the
calculateRoute() function, 2 Landmark instances are
defined, one for the departure, and one for the destination
coordinates of the route endpoints. A route must have at least 2
Landmark instances(waypoints), but optionally can have more,
for any optional additional waypoints along the route.The starting, or departure point of the route is the first waypoint in a list of
2 or more Landmarks (2 in this case), each containing a name, latitude (in degrees)
and longitude (in degrees). The destination point is the last waypoint in the list.
In this example, the route departure point is London, and the destination is Paris,
as specified by the
Coordinates in the 2 Landmark instances.The list of waypoints is passed to the
routingService to calculate the route. 1private val routingService = RoutingService(
2 onStarted = {
3 progressBar.visibility = View.VISIBLE
4 },
5 onCompleted = { routes, errorCode, _ ->
6 progressBar.visibility = View.GONE
7 when (errorCode) {
8 GemError.NoError -> {
9 SdkCall.execute {
10 gemSurfaceView.mapView?.presentRoutes(routes, displayBubble = true)
11 }
12 }
13 GemError.Cancel -> {
14 // The routing action was cancelled.
15 }
16 else -> {
17 // There was a problem at computing the routing operation.
18 Toast.makeText(
19 this@MainActivity,
20 "Routing service error: ${GemError.getMessage(errorCode)}",
21 Toast.LENGTH_SHORT
22 ).show()
23 }
24 }
25 }
26)
A
RoutingService is instantiated to compute a route and render
it on the map. The onStarted and onCompleted callbacks are
implemented, to detect when the route computation is started and when
it is completed.When the route computation is completed, and there is no error,
the list of resulting routes is rendered on the map using
presentRoutes().The
displayBubble flag is set to true to show the distance in km,
and the time in hours, next to each route. 1override fun onCreate(savedInstanceState: Bundle?) {
2 super.onCreate(savedInstanceState)
3 setContentView(R.layout.activity_main)
4 progressBar = findViewById(R.id.progressBar)
5 gemSurfaceView = findViewById(R.id.gem_surface)
6 SdkSettings.onMapDataReady = onMapDataReady@{ isReady ->
7 if (!isReady) return@onMapDataReady
8 // Defines an action that should be done when the world map is ready (Updated/ loaded).
9 calculateRoute()
10 // onTouch event callback
11 gemSurfaceView.mapView?.onTouch = { xy ->
12 // xy are the coordinates of the touch event
13 SdkCall.execute {
14 // tell the map view where the touch event happened
15 gemSurfaceView.mapView?.cursorScreenPosition = xy
16 // get the visible routes at the touch event point
17 val routes = gemSurfaceView.mapView?.cursorSelectionRoutes
18 // check if there is any route
19 if (!routes.isNullOrEmpty())
20 {
21 // set the touched route as the main route and center on it
22 val route = routes[0]
23 gemSurfaceView.mapView?.apply {
24 preferences?.routes?.mainRoute = route
25 centerOnRoute(route)
26 }
27 }
28 }
29 }
30 }
31 SdkSettings.onApiTokenRejected = {
32 Toast.makeText(this, "TOKEN REJECTED", Toast.LENGTH_LONG).show()
33 }
34 if (!Util.isInternetConnected(this)) {
35 Toast.makeText(this, "You must be connected to the internet!", Toast.LENGTH_LONG).show()
36 }
37}
The
onCreate() function checks if internet access is available
and when the map is ready, that is, instantiated and loaded,
it calls the calculateRoute() function shown above.
When the route calculation completes, the routing service callback
is triggered and the resulting route(s) are rendered on the map.The
onTouch listener is defined for the mapView to get
the cursorScreenPosition and use it to obtain a list of
routes, if any, under the cursor, with the cursorSelectionRoutes
function. If the resulting list of routes is not empty, then
the first route in this list, at index 0, is set as the main route,
and centerOnRoute() is called on this route.This makes it possible to select any one of the resulting alternate
routes by touching it, and the camera will automatically center
on that route with an animation, such that the bounding box of
the selected route fits snugly in the viewport.